Forms
In this post, we’ll walk you through:
If you want to enable bookings for your event, you also need to provide a booking form so users can submit a booking. This form will appear on the website under certain conditions when users click the booking button in the event. The conditions for the form to appear are as follows:
- the plugin must be allowed to send emails (see Send Emails in the event settings)
- bookings must be enabled for your event (see Enable Bookings in the event settings)
- for admin emails, at least one valid email address must be entered (see Admin E-Mails in the event settings)
- there must still be available spots for your event
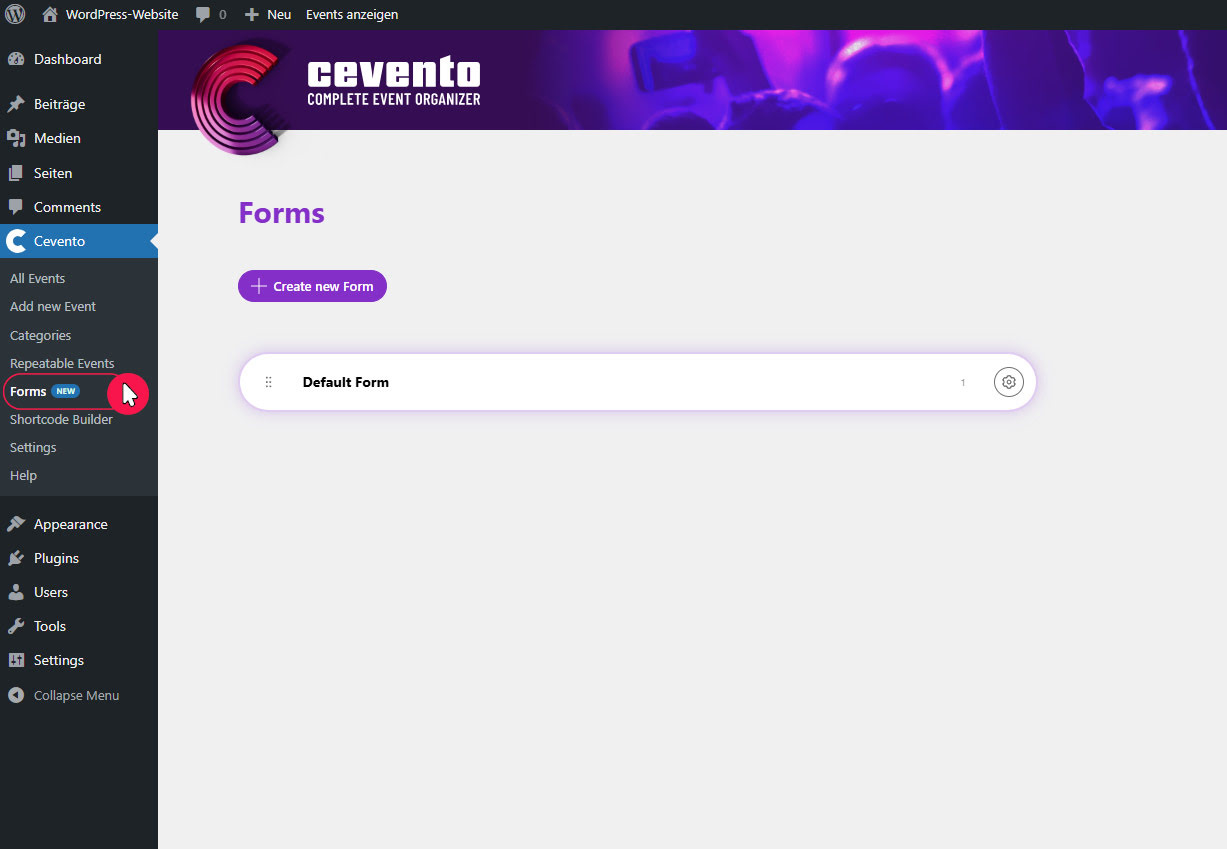
In the Cevento dashboard, under Forms, you can create and edit booking forms. These forms can then be assigned to events (see Create events). This document explains everything about booking forms and the form builder.
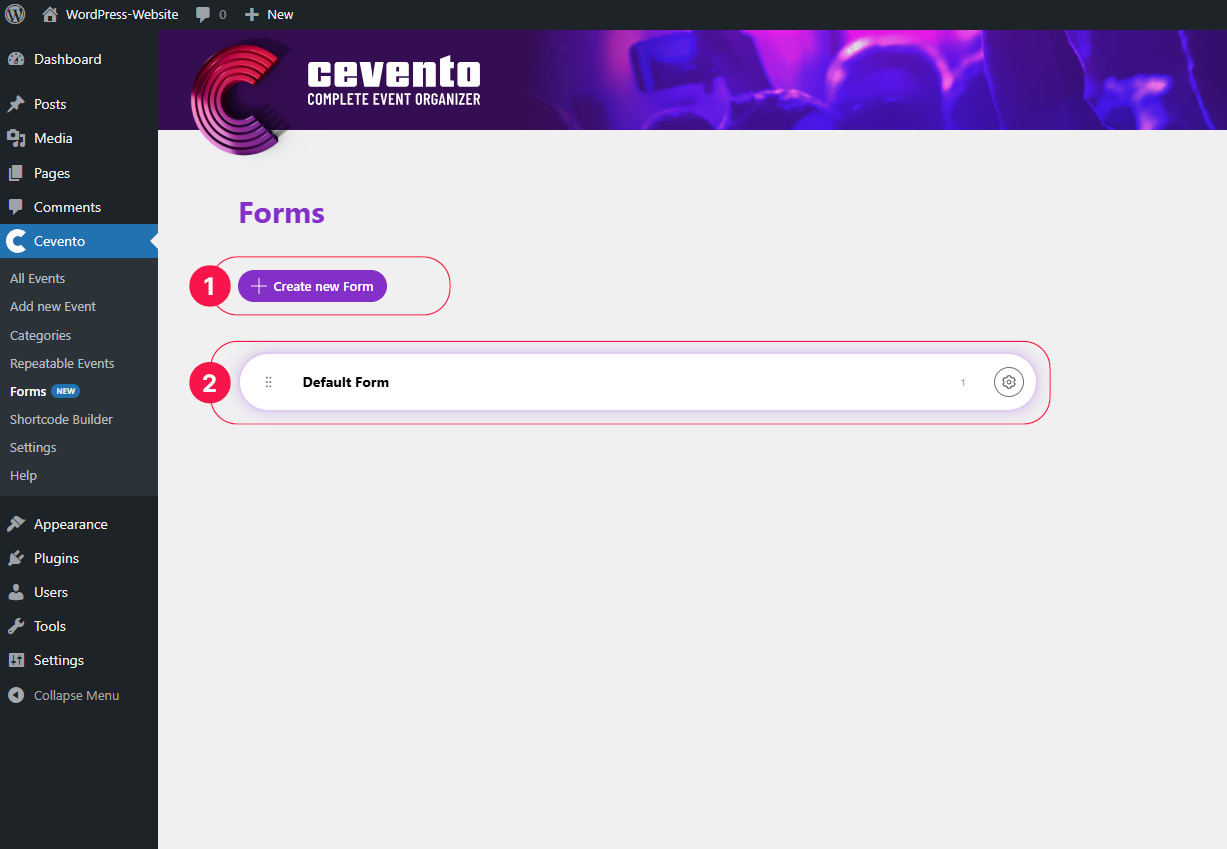
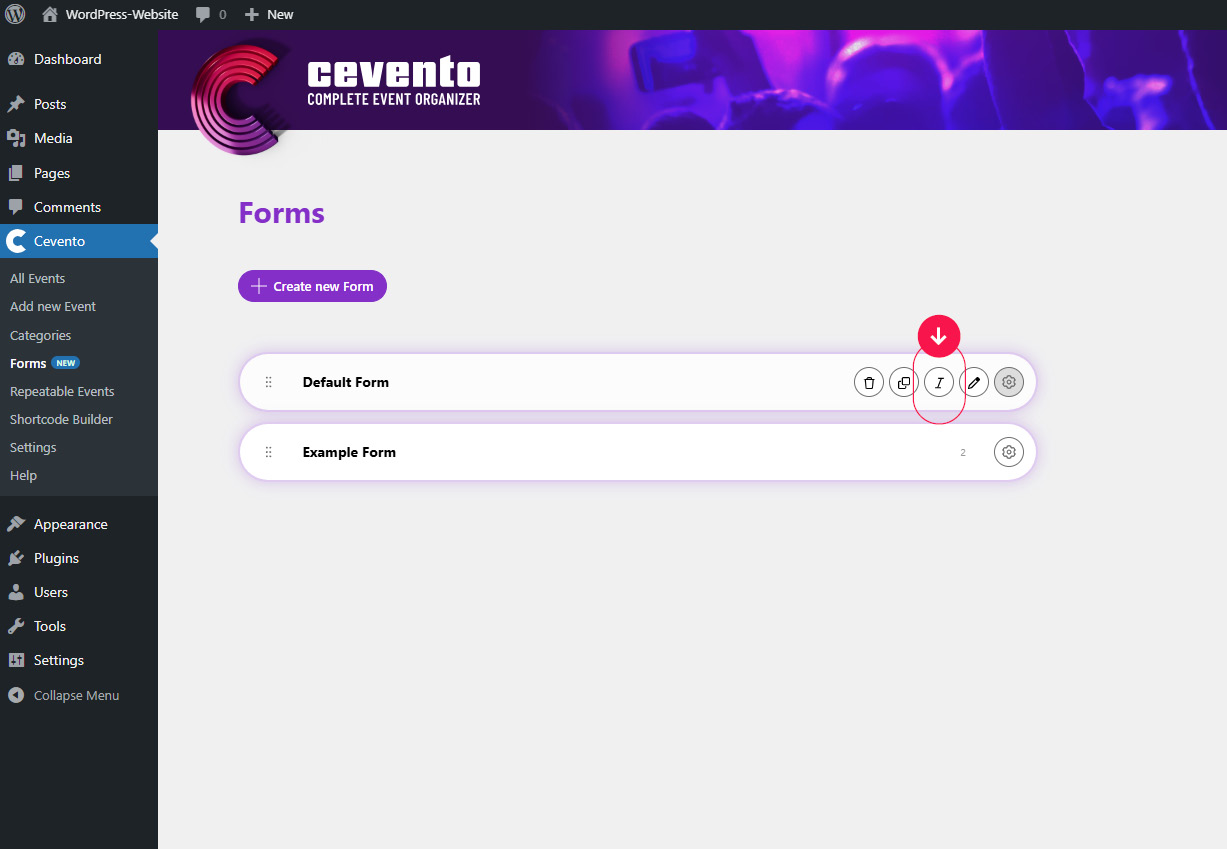
Create new Form and other actions
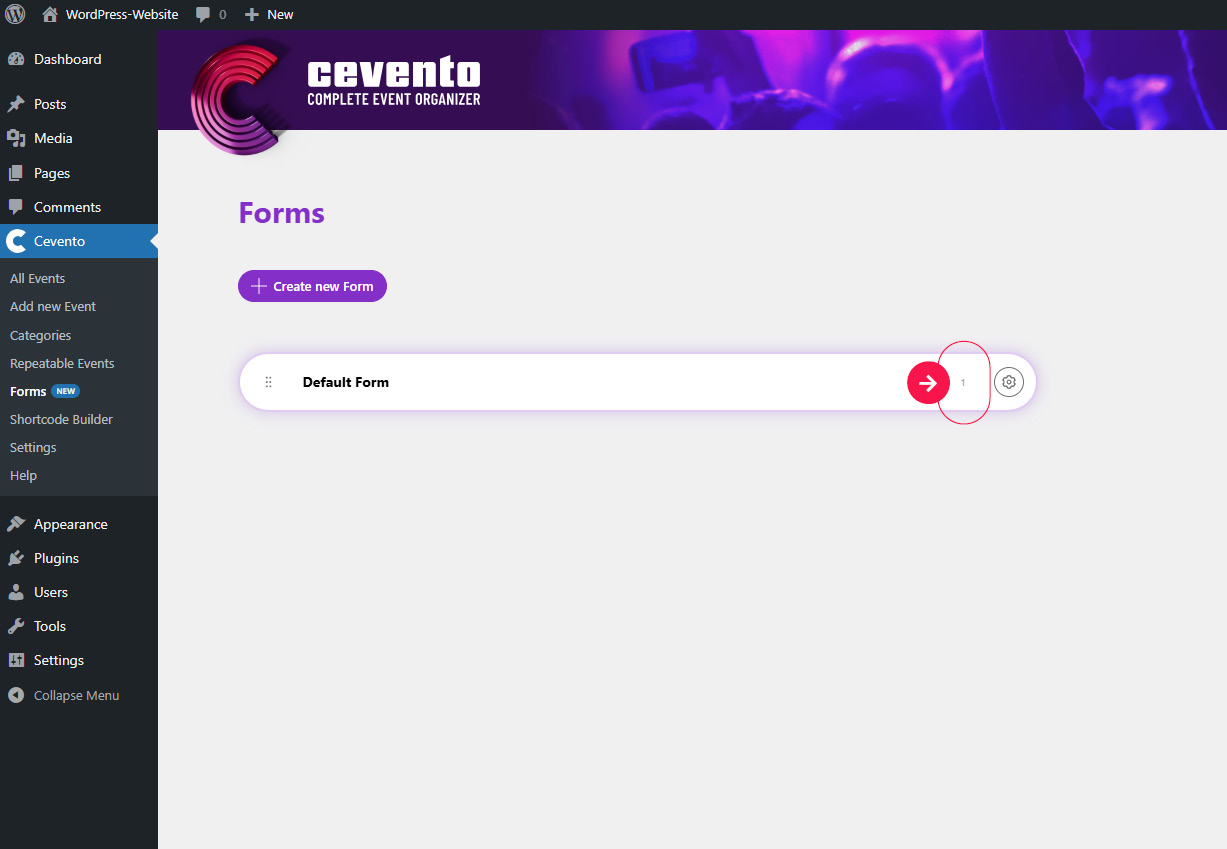
In the Forms overview, you can add a new form with the Create new Form button [1]. Below, you’ll see a list of your forms. Each form is displayed as a white element (a bar with a shadow) [2].
Each element, from right to left, has the following indicators and buttons:
Drag & Drop order
If you place your mouse cursor over the drag & drop icon and hold down the mouse button, you can rearrange the order of your forms. This order is only for your personal organization and has no effect on the plugin’s functionality.
Form title
Next to the drag & drop icon is the display of your form title. You can change the title in the form builder or via actions.
Form ID
On the far right of the element, you’ll see a small number. This is the form ID and is only needed by developers who want to extend Cevento.
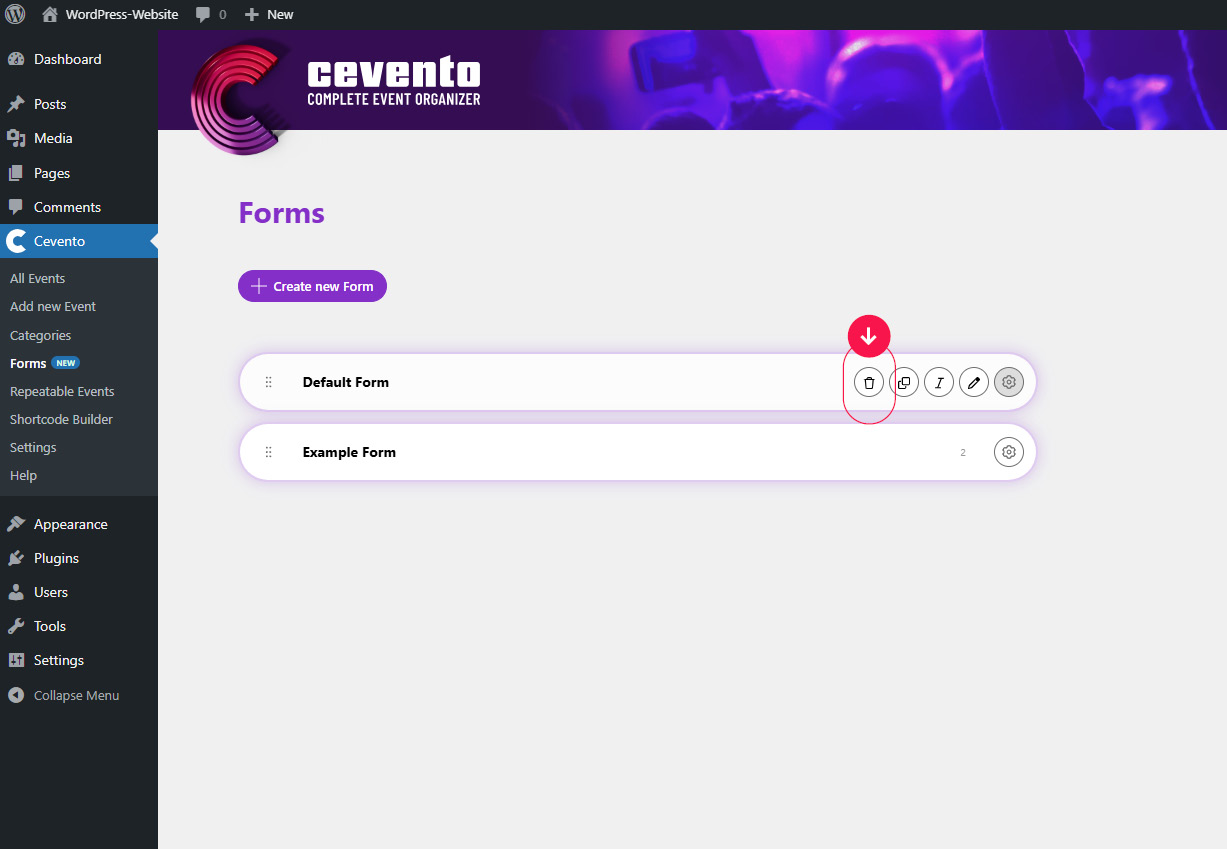
Actions
To display the actions for your form, hover over the gear icon. Then the following actions will appear to the left of it, which you can trigger by clicking the respective icon. The action bar remains visible as long as your mouse cursor is placed over it.
Delete
To delete a form, click the trash can icon. A pop-up will appear where you can confirm deletion (button Detach permanently) or cancel the action (button Nevermind). Once confirmed, this action cannot be undone.
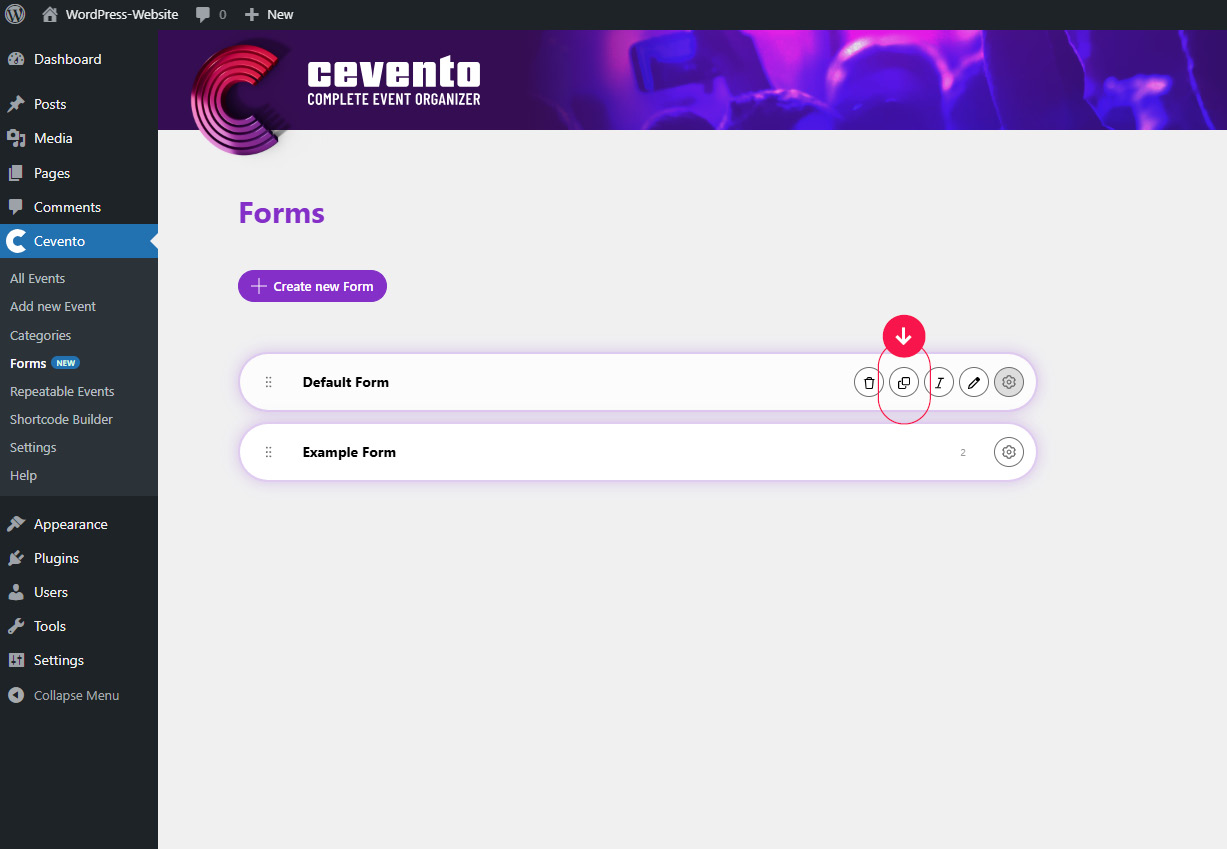
Duplicate
To duplicate a form, click the icon with two overlapping rectangles. After clicking, the copy of your form appears at the top of the list, and you immediately have the option to edit the form title in the input field. Don’t worry — the title can also be changed later via an action or in the form builder.
Rename
By clicking the cursor/text form icon, you can change the title of your form. An input field will appear in place of the title display, allowing you to edit it. As soon as you click elsewhere on the screen (in other words, when the input field loses focus), the title is saved automatically. A successful save is indicated by a small green check icon.
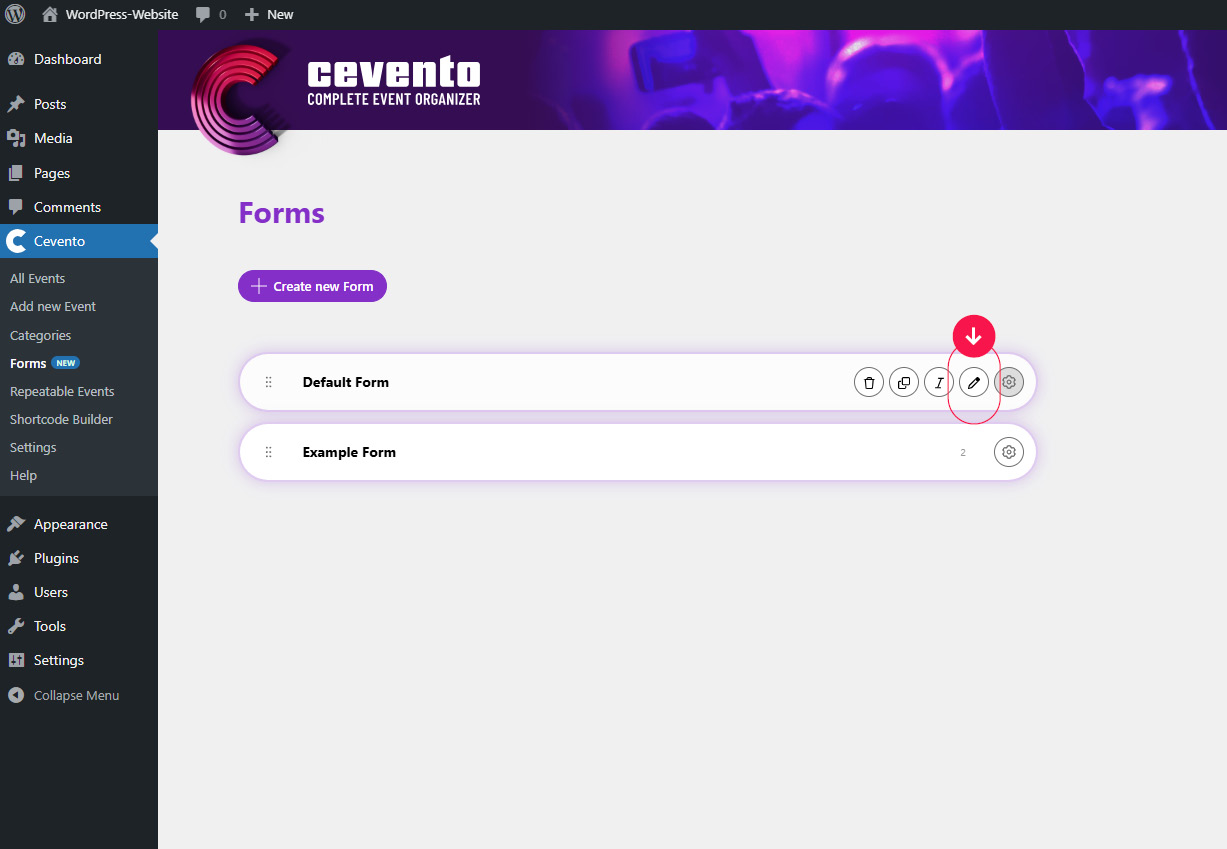
Edit
To edit a form, click the pencil icon or simply click on a free space in the element. After clicking, the form builder opens. There, you can add fields to your form, adjust further settings, and perform actions.