Create Events
In this post, we’ll walk you through:
This document explains how to add a new single Event. How to add a Recurring Event and important information about bookings are explained in separate documents.
Preparation
Before creating a new event, you should complete the following steps:
- Purchase & install the plugin
- Review and adjust the plugin settings under Cevento → Settings
- Basic understanding of WordPress page editing
- Do you want to create an event with booking management? Then it’s best to first create a form and read the key information about bookings before publishing the event.
Add new Event
You have two options to add a new single event:
- In the WordPress menu click Cevento → Add new Event
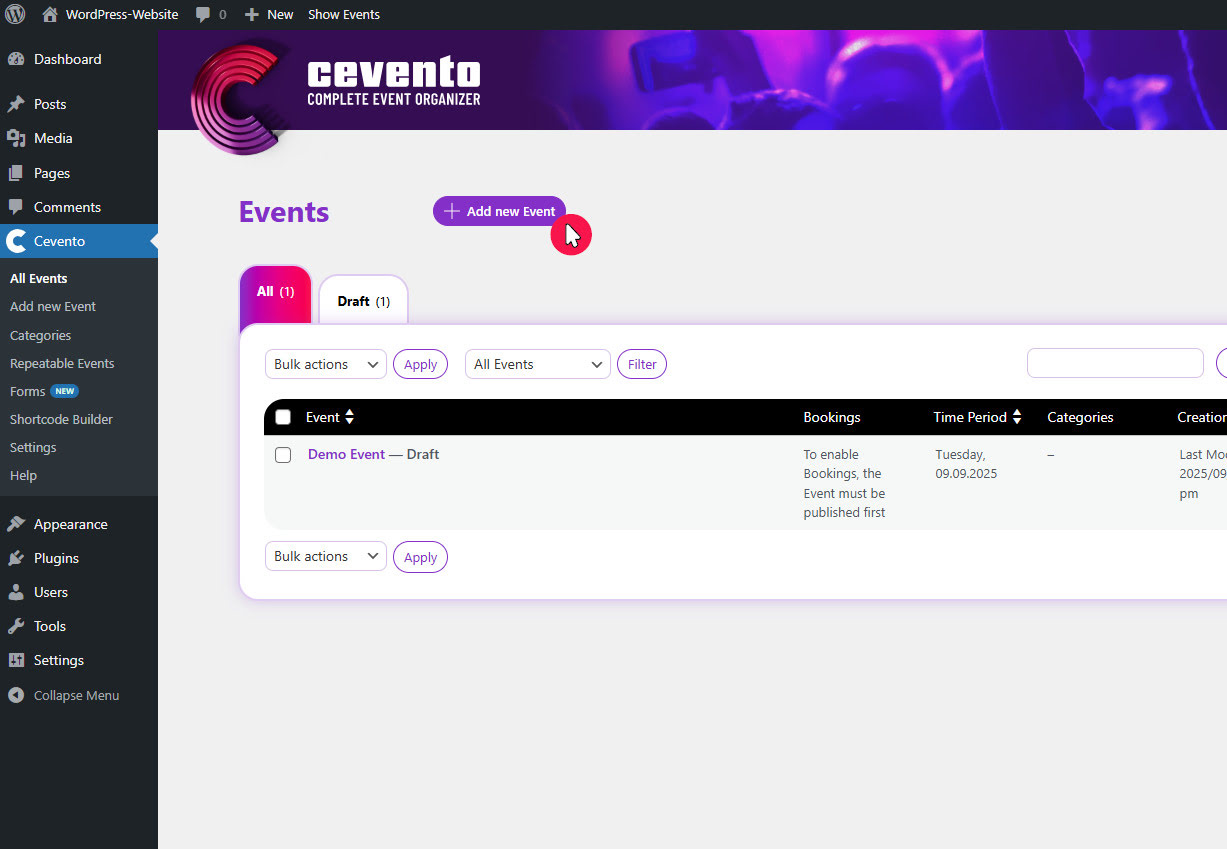
- In the WordPress menu under Cevento → All Events click the button Add new Event
After using either option, you’ll land in the event editor. On the left, you’ll see an input field for the title and below it two to three tabs where you can set the event options. On the right, you’ll see metaboxes from Cevento and those related to WordPress page properties.
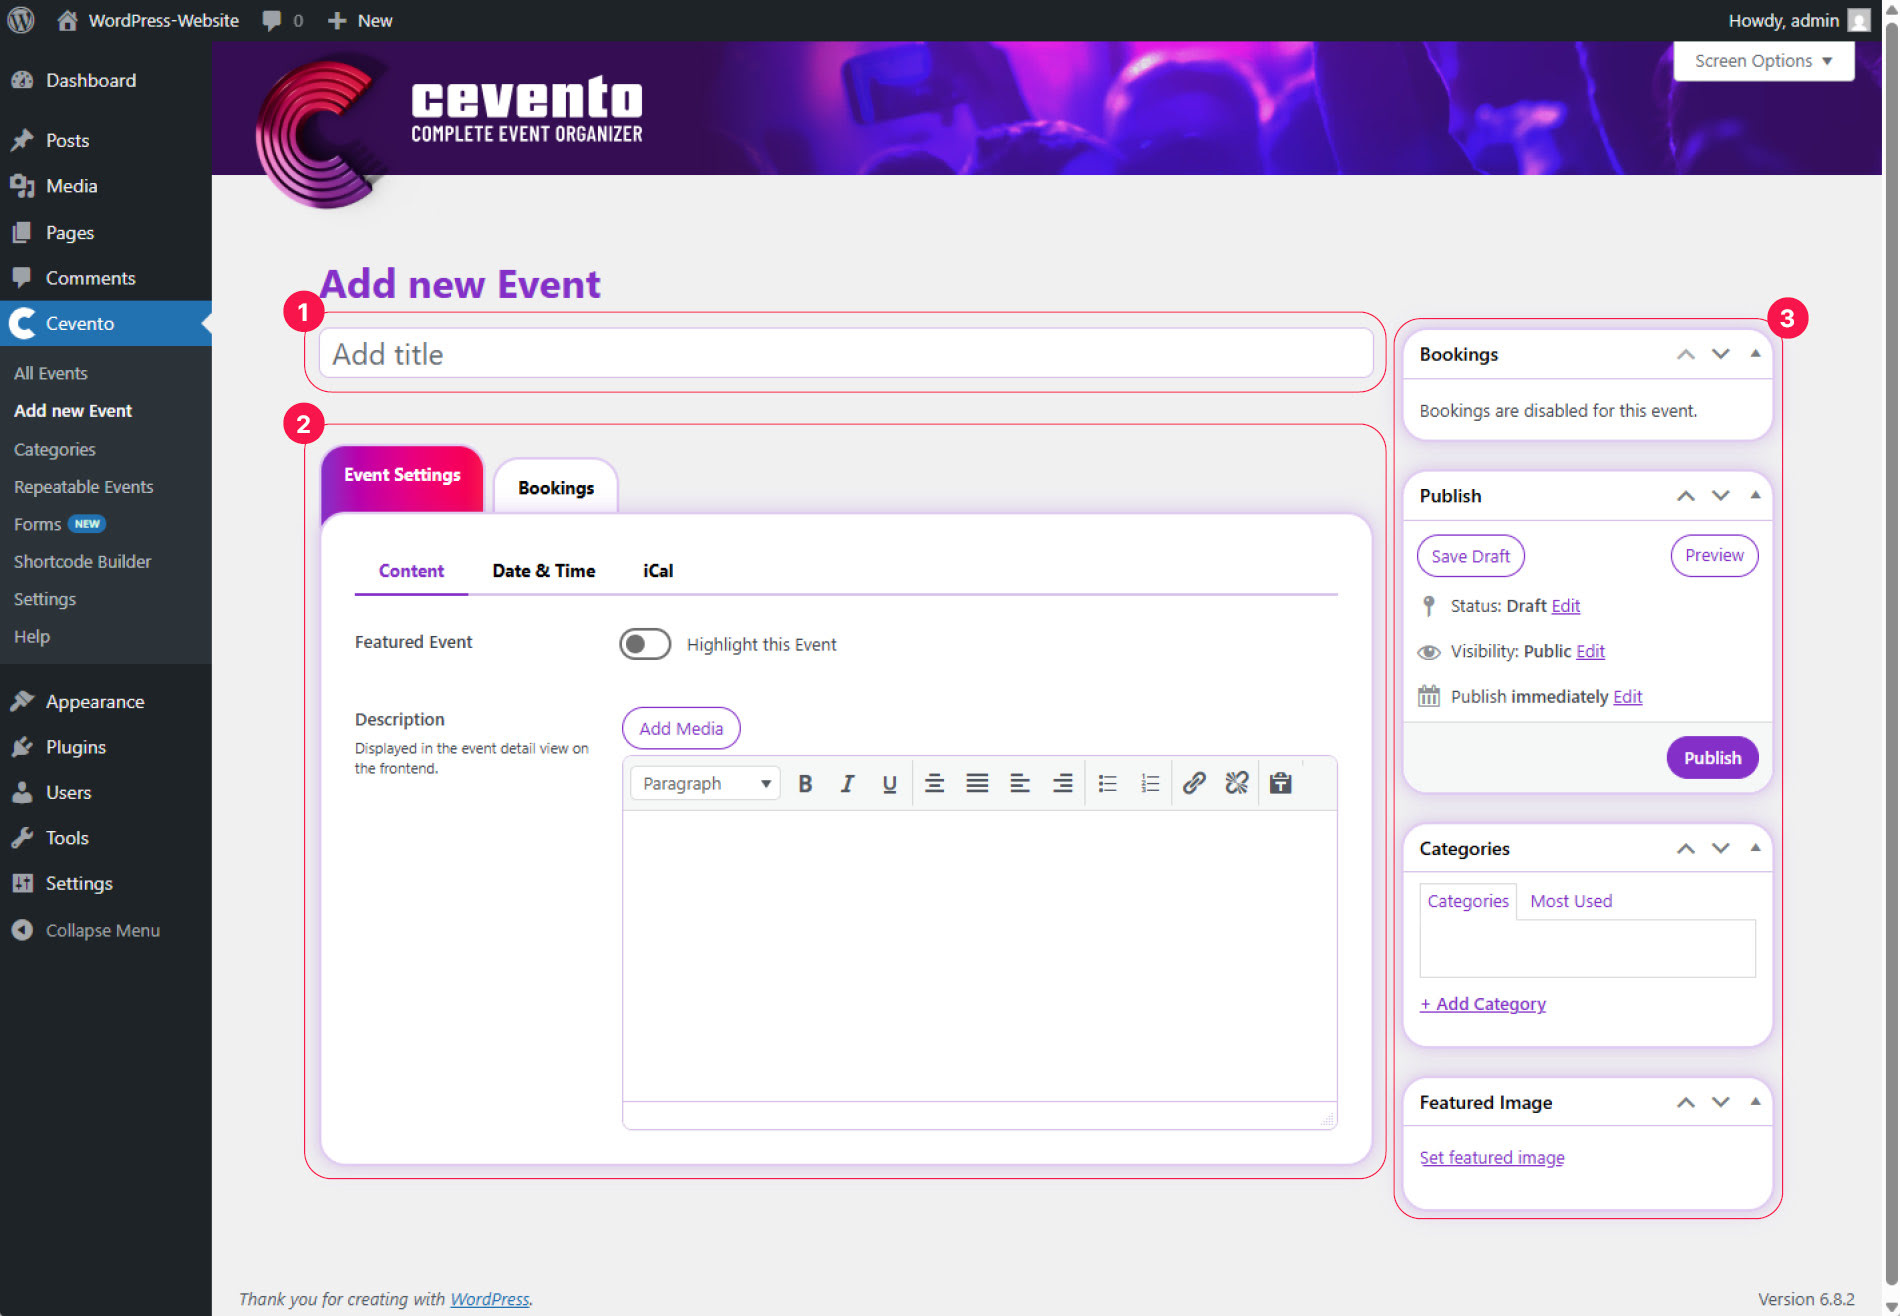
[1] Input field for the event title, [2] Event settings, [3] Metaboxes
Enter a title
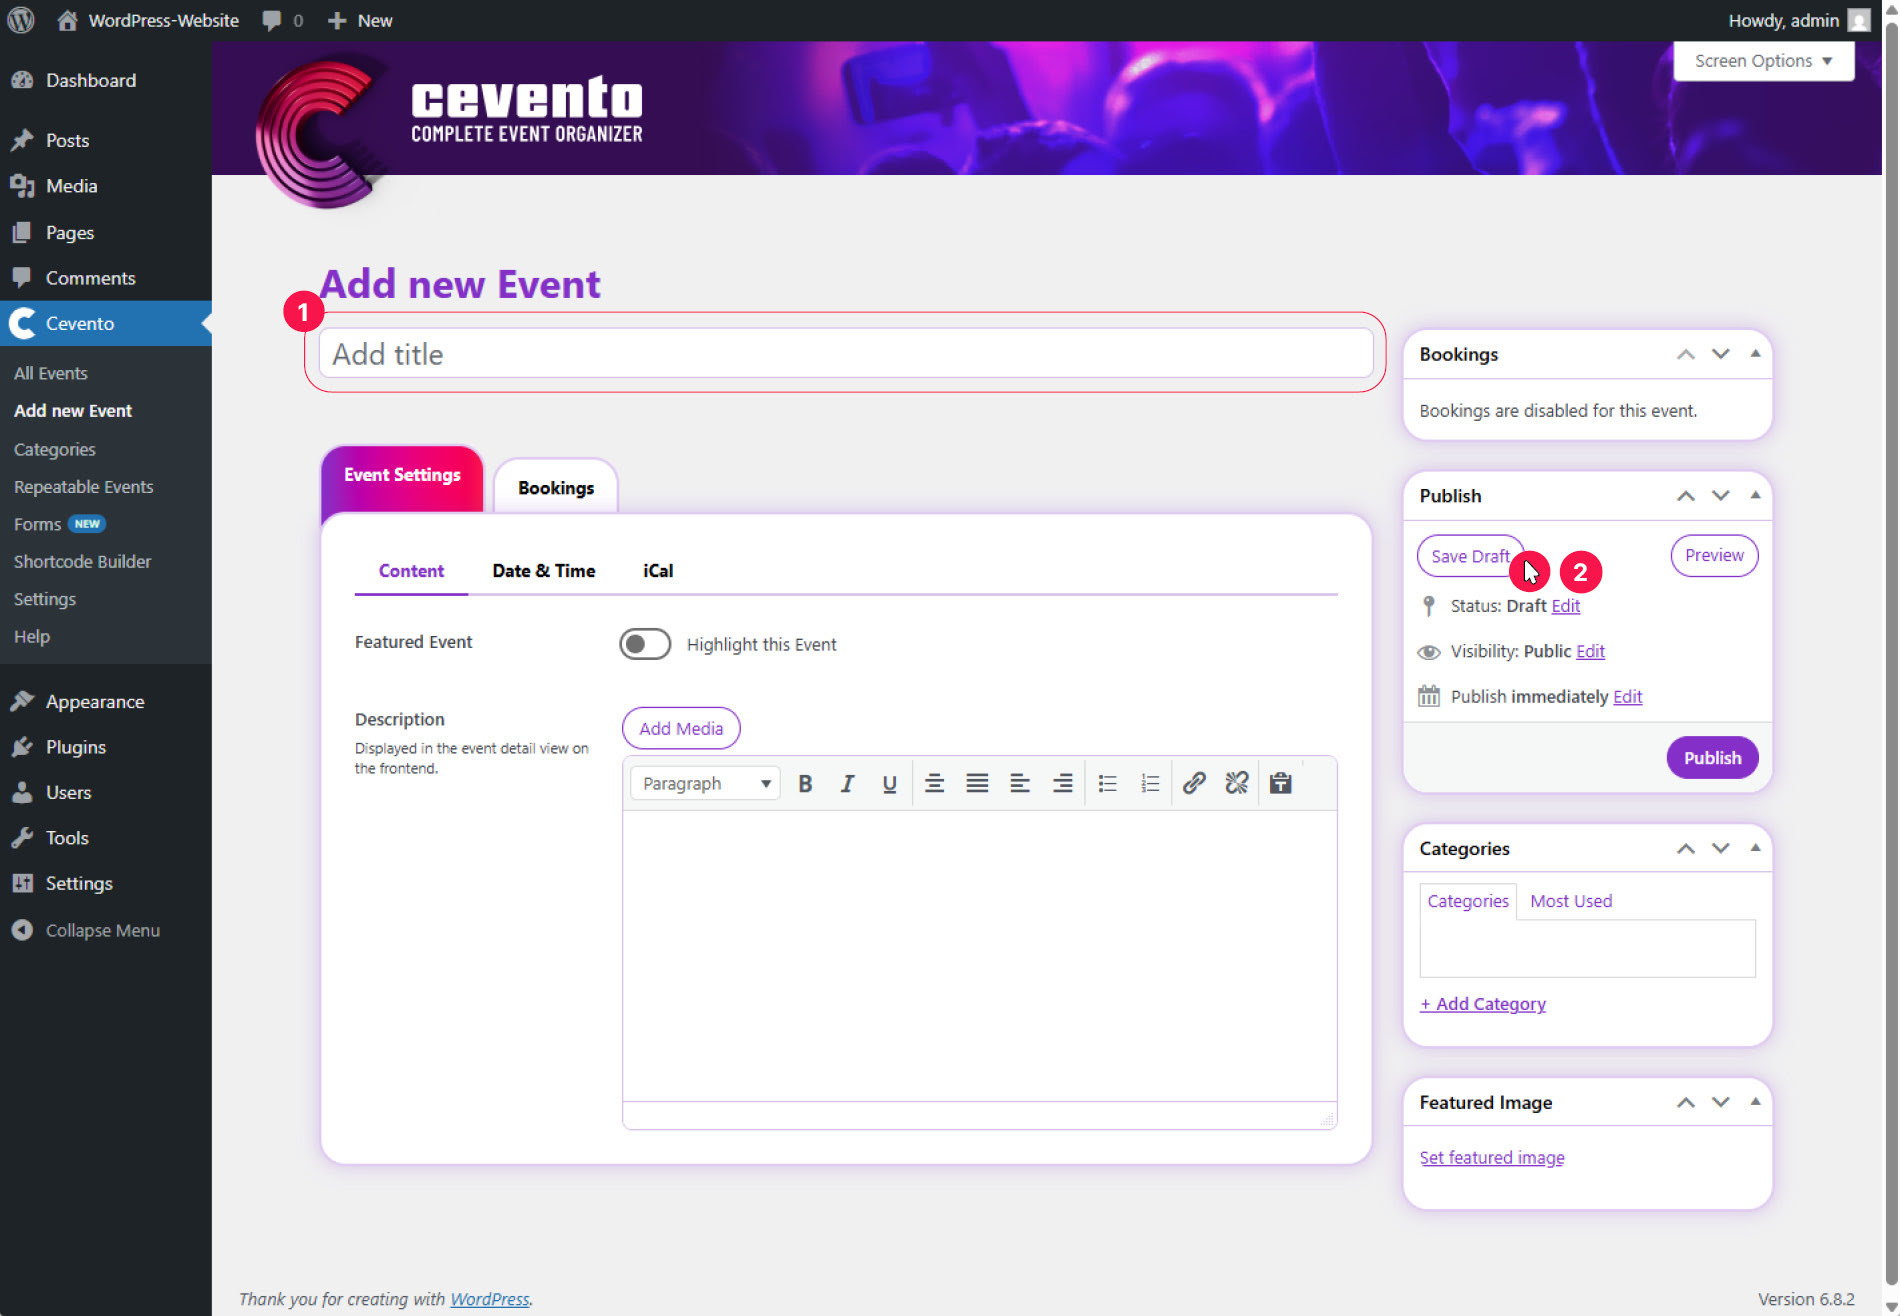
Enter the desired title of your event into the input field Enter title here [1] and click Save Draft [2] in the Publish metabox.
Set event settings
The event settings are divided into two or three tabs located below the title. These tabs may contain submenus. The following sections explain these tabs and their submenus in order.
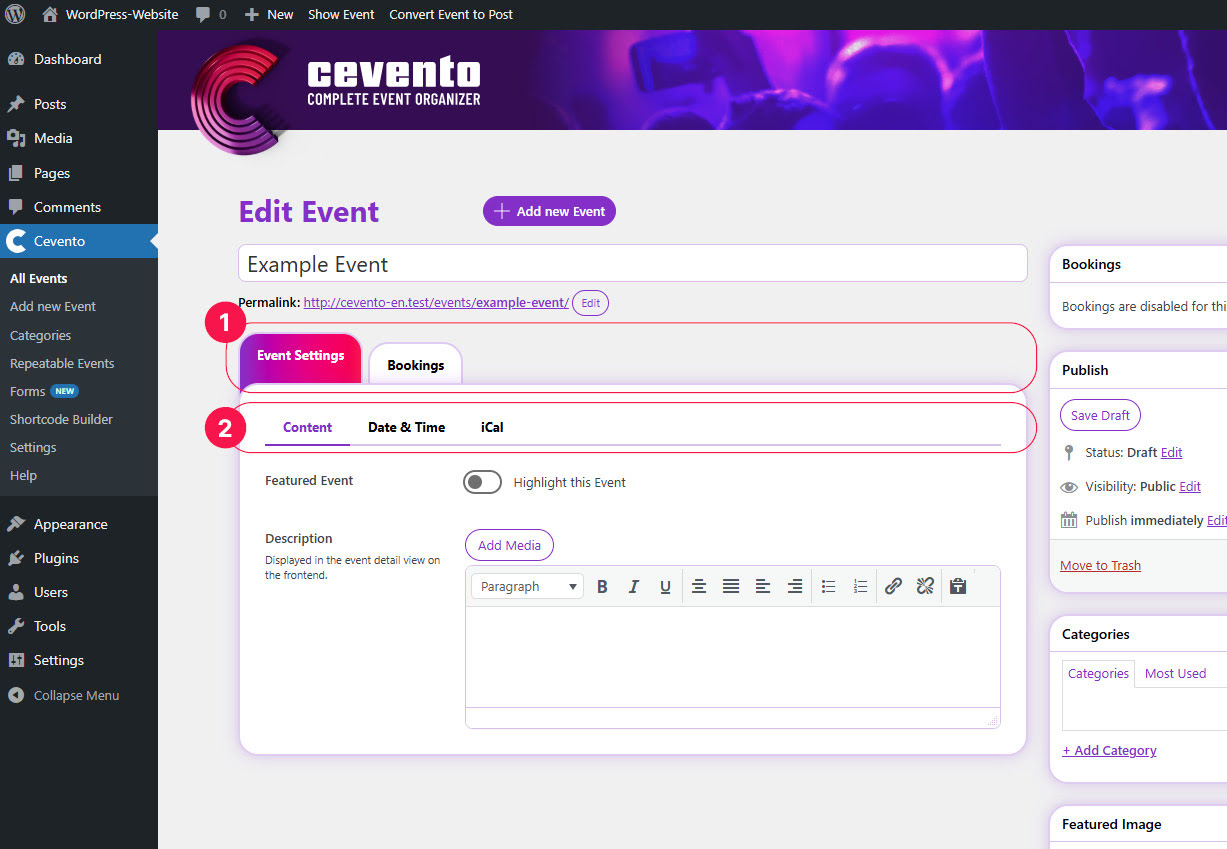
[1] Tabs, [2] Submenu
To preview your event detail page while editing, you can click the Preview button in the Publish metabox on the right. This opens a new browser tab with a view of the event detail page that reflects the current state of your settings.
Event Settings
This tab contains settings for Content, Date & Time, and iCal.
Content
Settings related to the content of your event are located here.
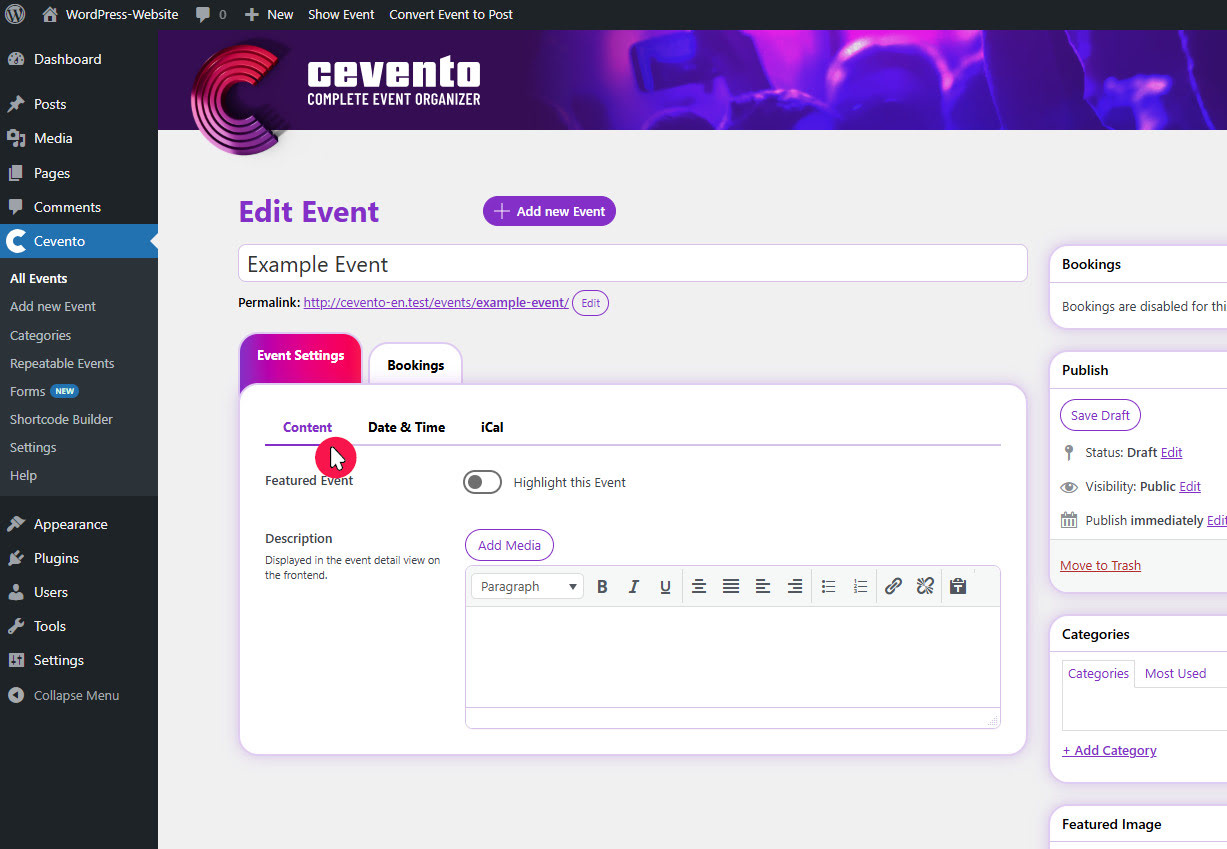
Featured Event
Is your event special? Enable this switch to highlight the event in list views.
Description
The content entered in this text field will be displayed on the event detail page on your website.
Date & Time
In the Date & Time tab, you can define the duration of your event.
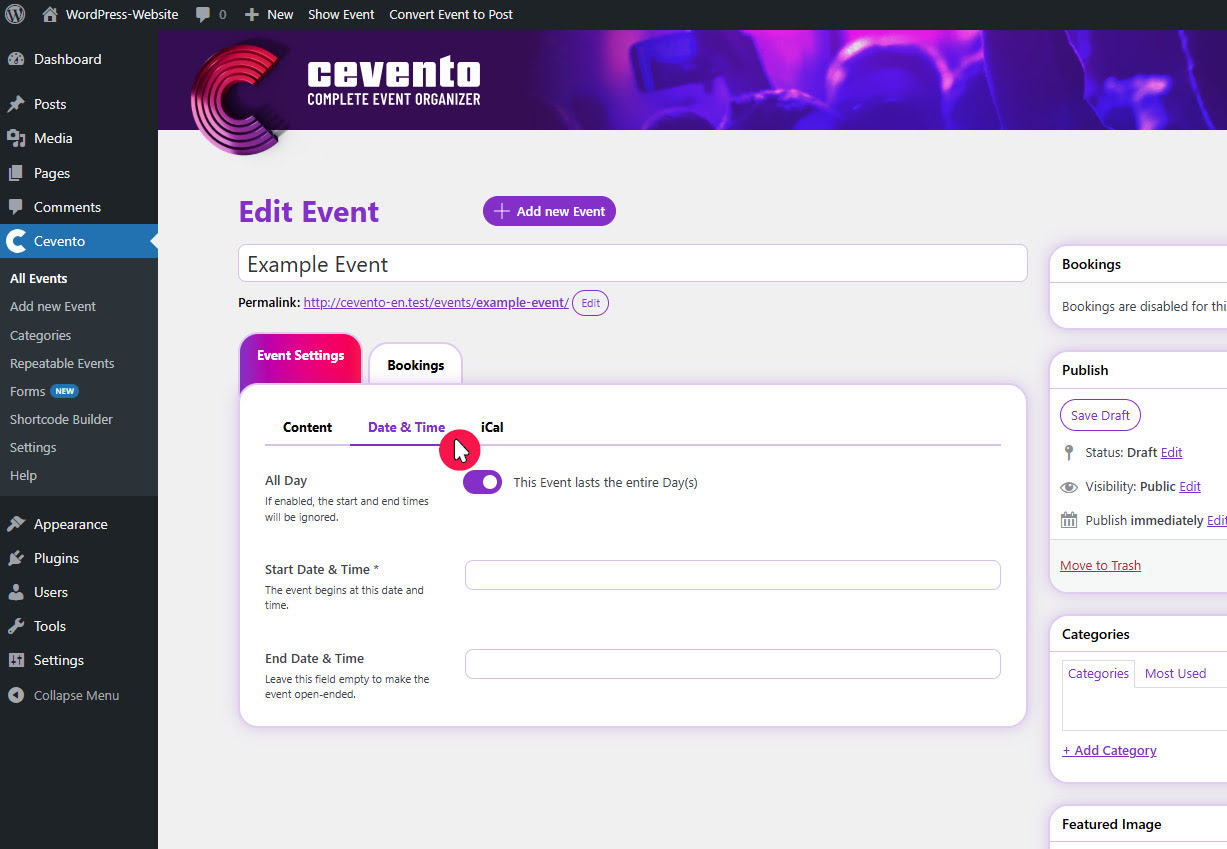
Full Day
Enable this switch if your event lasts all day. When enabled, times will not be shown in the event output.
Start Date & Time
Set the date and time when your event begins.
End Date & Time
Set the date and time when your event ends.
iCal
In this tab, you can configure settings for the downloadable iCal file. iCal is a standardized file format for exchanging appointments across different applications. The file can be downloaded on the event detail page and opened in the user’s application to easily import your event.
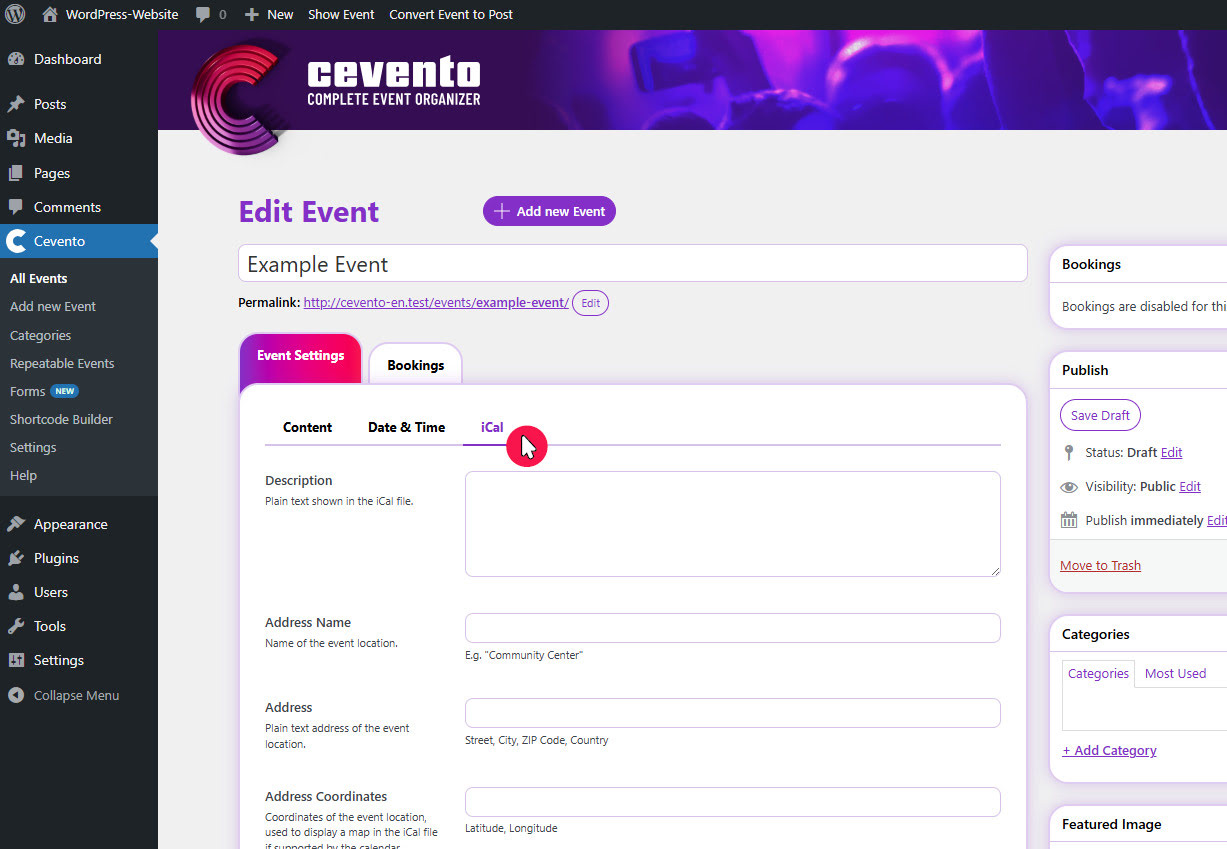
Description
The text entered here will appear in the iCal file.
Address Name
Enter the name of the event location here.
Address
Enter the address of the event location (format: Street, City, Postal Code, Country).
Address Coordinates
Enter the coordinates of the event location here (format: latitude, longitude). These coordinates can be used to display a map in the iCal file if supported by the calendar application.
Bookings
In this tab, you can enable bookings for your event and adjust related settings.
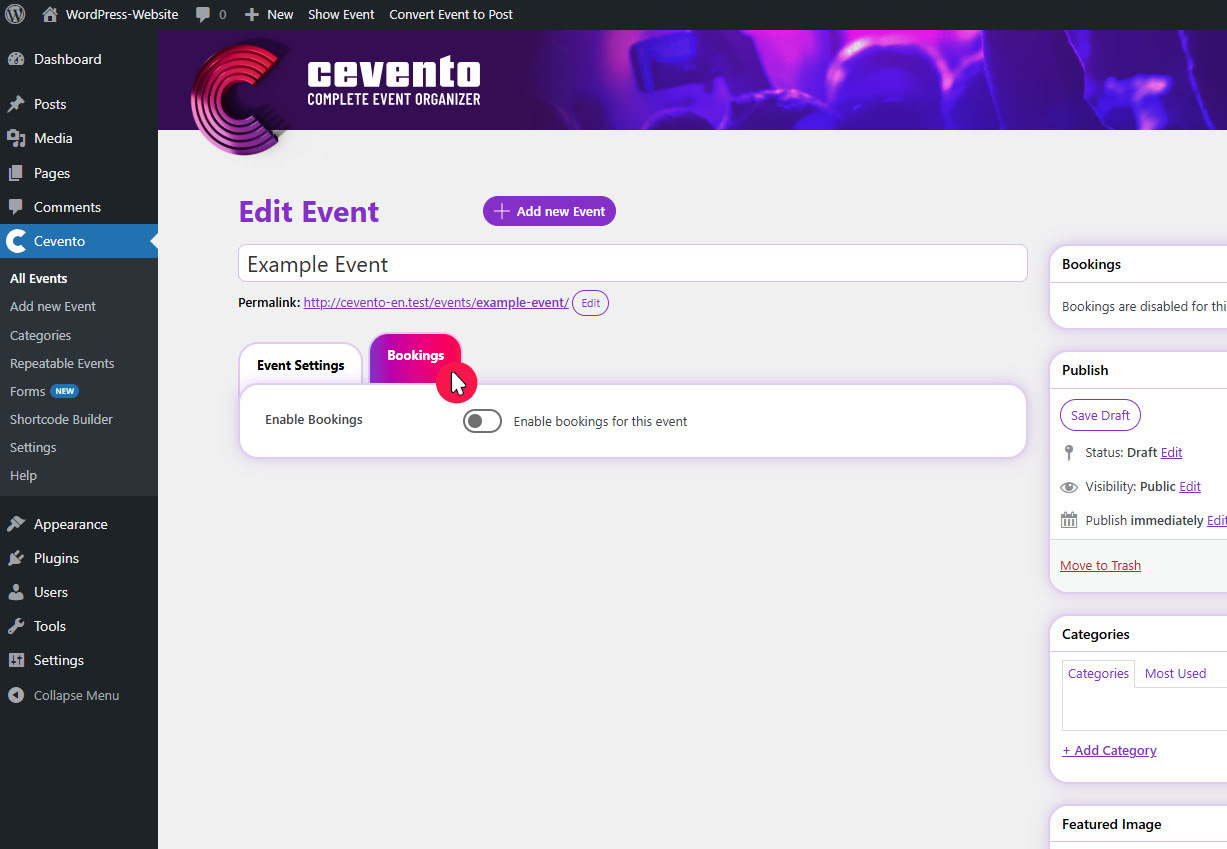
Enable Bookings
Enable this switch if you want users to be able to book your event via your website with Cevento. Only after enabling will the additional settings in this tab appear.
External Booking Link
Here you can enter a link to a booking form on an external website. If a link is entered, users will be redirected there for booking, and the remaining settings in this tab will be ignored. This can be useful if you manage bookings via a third-party platform but still want to display your events on your own website.
Booking Form
In this dropdown, select the form through which users can book the event. The booking data will also be reflected in the booking overview.
Confirm Bookings
Here you can override the global setting for booking confirmation by admins.
If you choose Yes, admins must confirm the booking in the Cevento dashboard before users receive the Booking Confirmation email and the spot is reserved.
If you choose No, users receive an immediate confirmation email and the spot is reserved.
Max. Spots
The number entered here defines the maximum booking capacity (i.e. number of spots or participants) for this event. You can also leave it empty if the event should allow unlimited participants.
Available From
Booking will only be available starting from the date selected here. If left empty, the default applies: booking is available 1 year before the event.
Available Until
Select the date until which booking should be possible. If left empty, the default applies: booking is available until the end of the event.
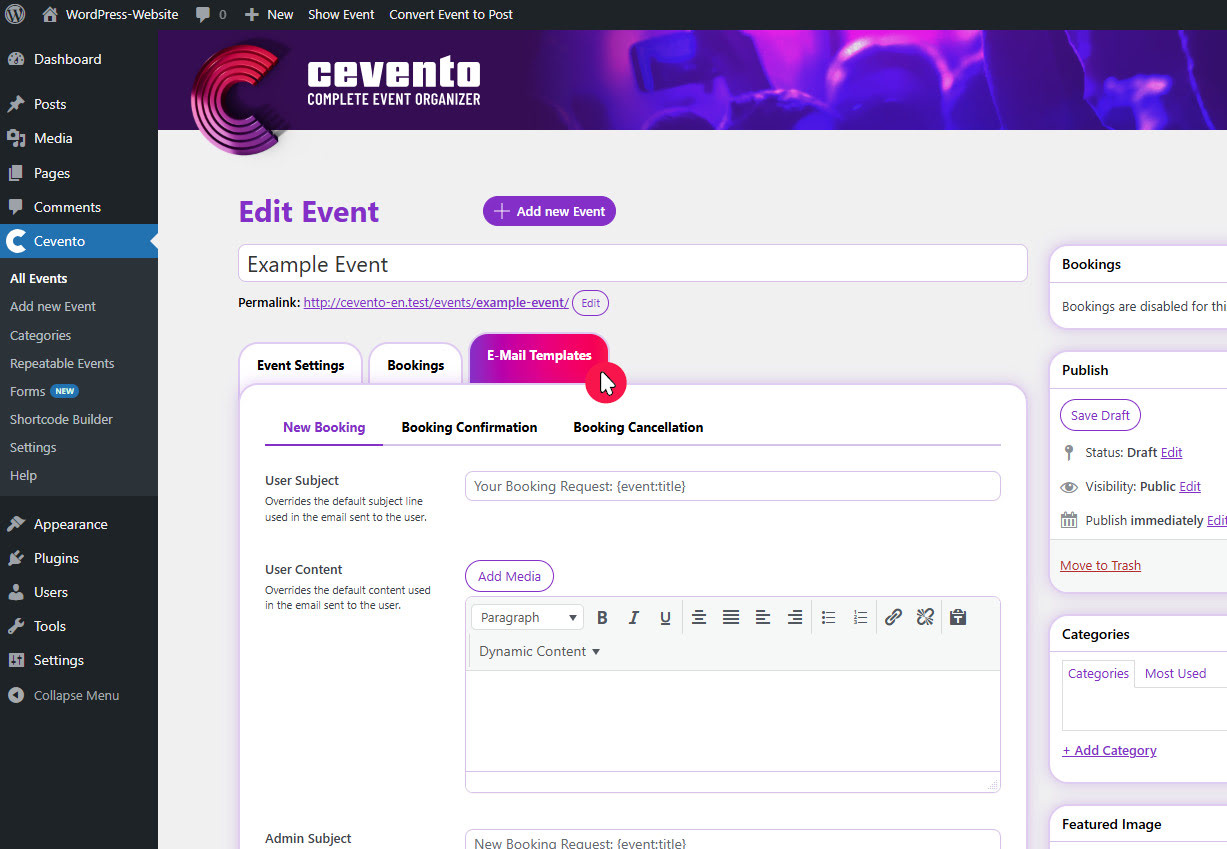
E-Mail Templates
This tab only appears once certain conditions are met. Here you can override the emails sent by Cevento specifically for this single event. If left empty, the emails from the global settings are sent. More details about emails and E-Mail Templates are available in this documentation.
Add a Featured Image
On the right, in the Featured Image metabox, you can choose an image from your WordPress media library. This image will be displayed on the event detail page. If you don’t select an image, no image will be displayed on the event detail page.
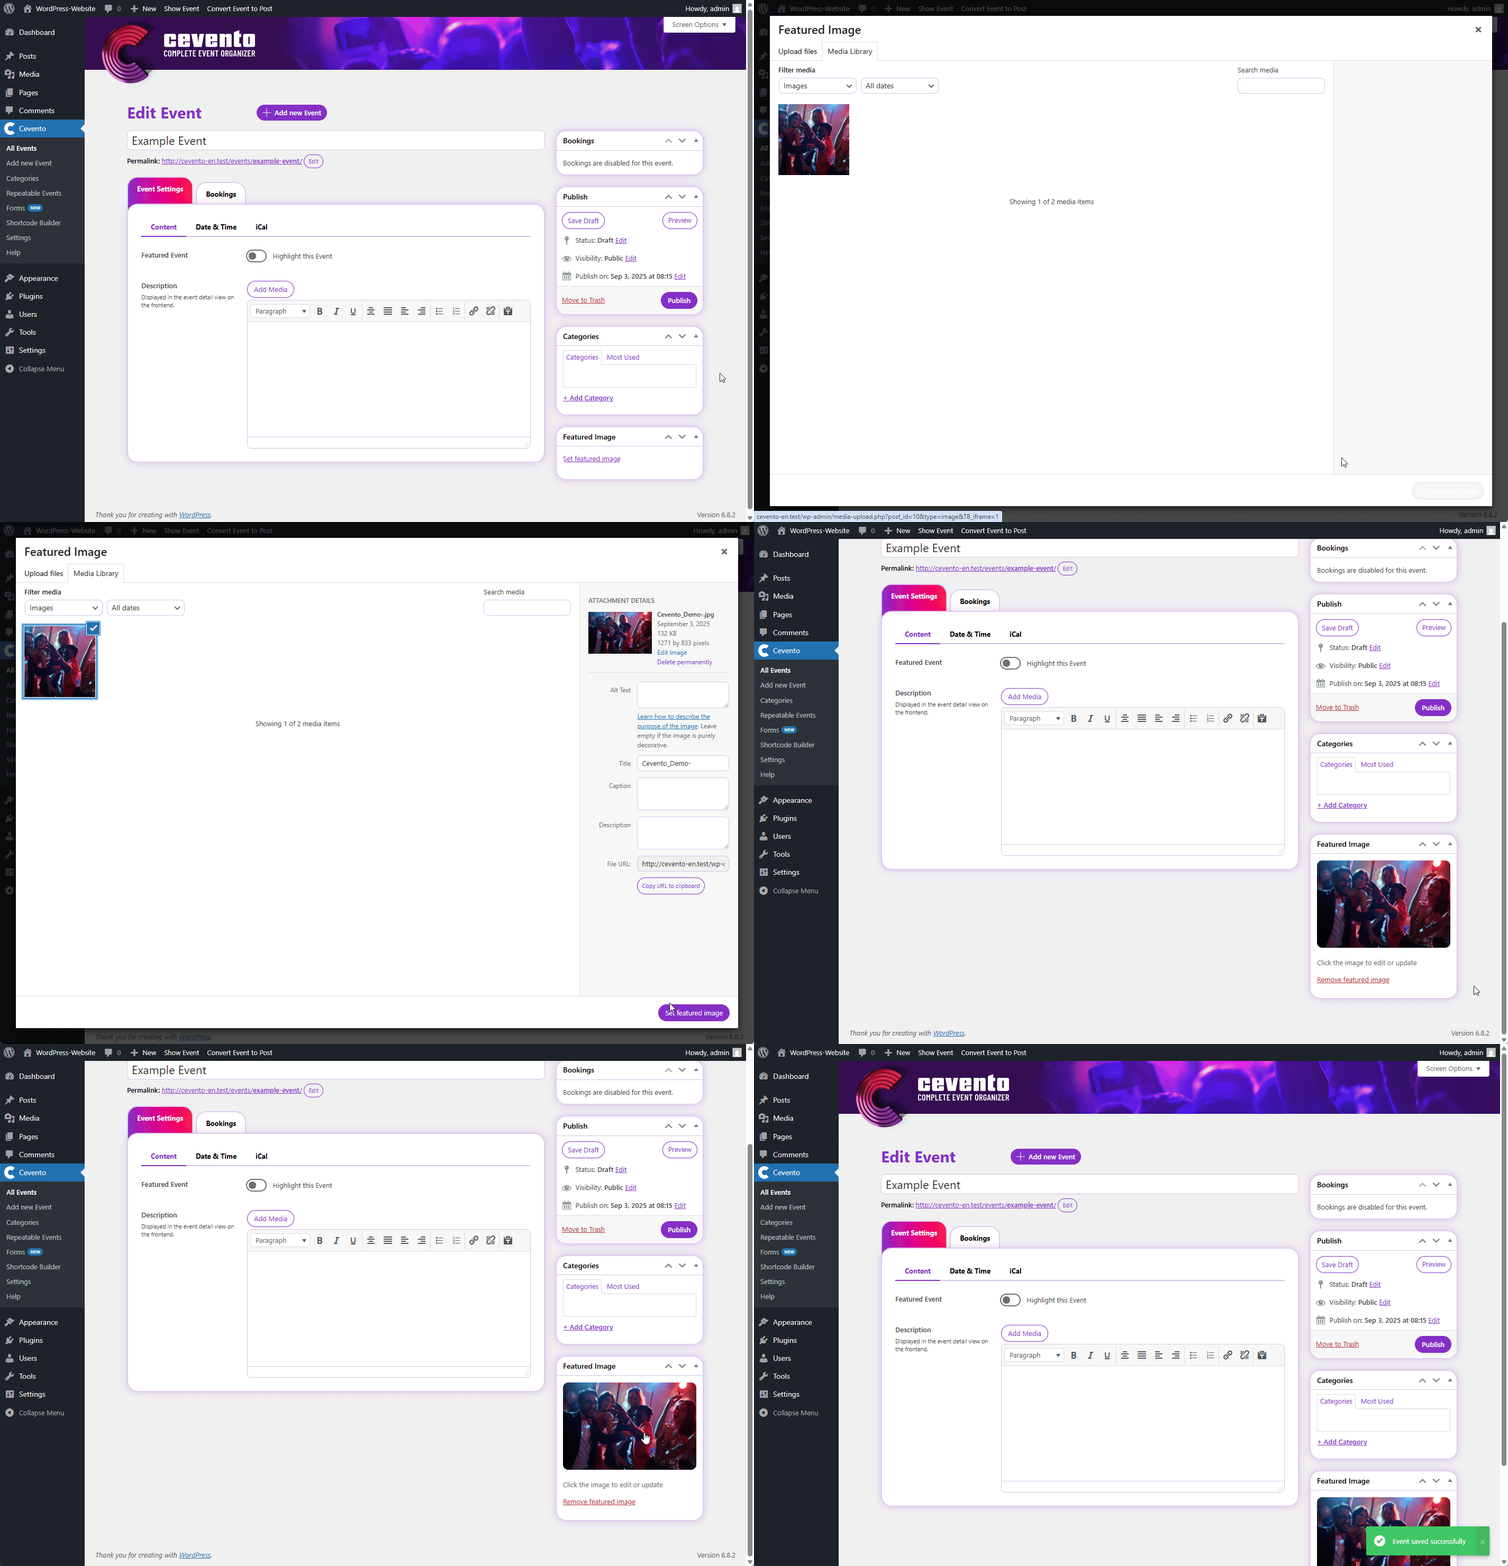
If you have enabled the switch Event Thumbnails under Cevento → Settings → Display → General, this image will also be used as a preview in your event views. If the switch is enabled but no image is set, a placeholder image will be shown in your event views.
Assign a category
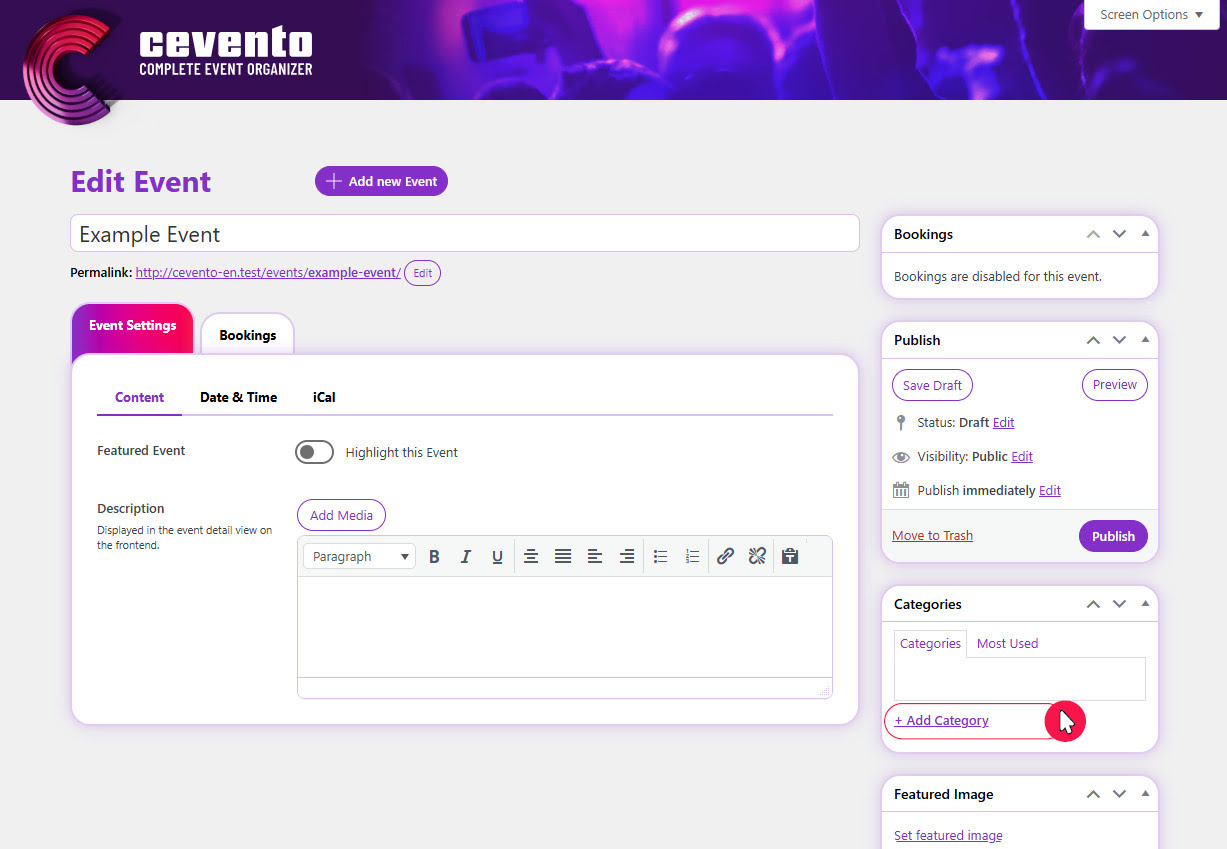
Events can be categorized. Each category has its own archive view. To assign a category to an event, check the box next to the desired category in the Categories metabox or create a new one by clicking Add New Category.
Save the Event
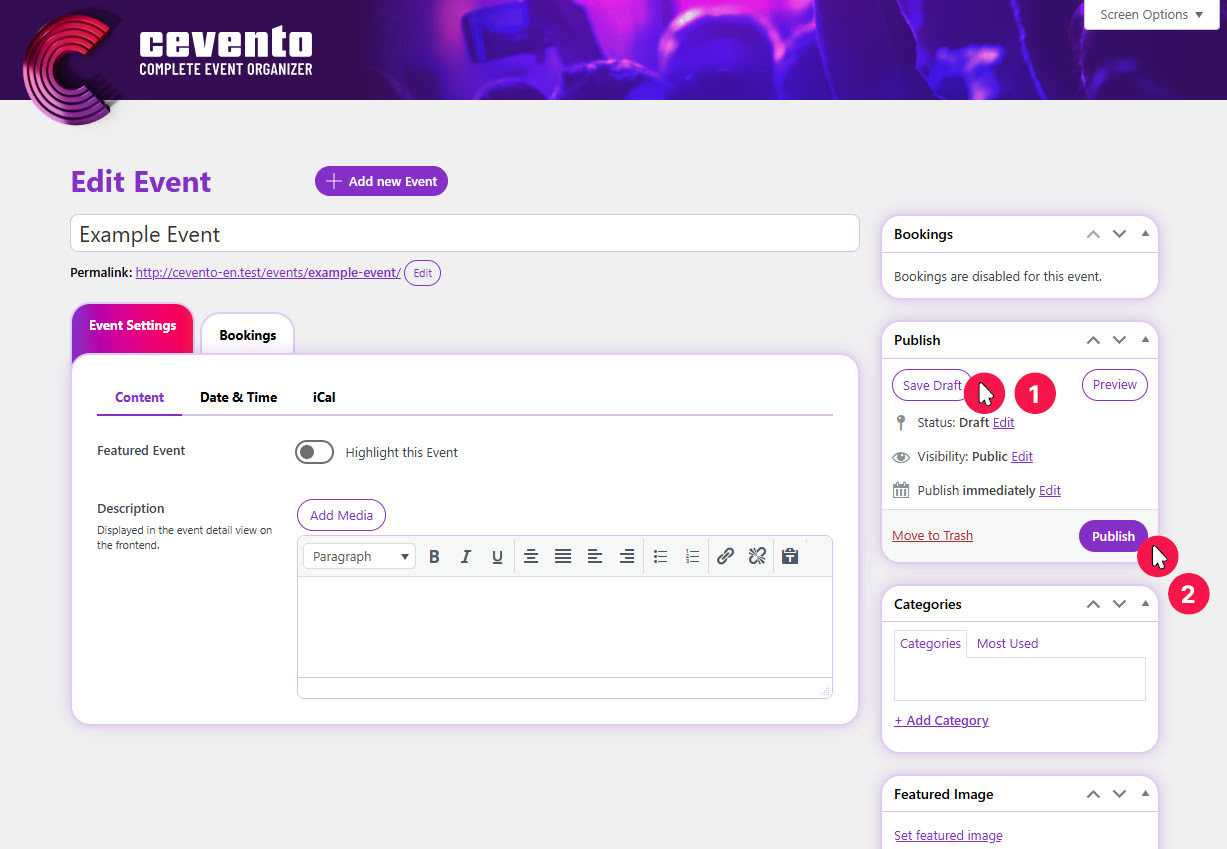
When you’ve finished setting up your event, you have two options to save it. Both are located in the Publish metabox on the right:
- Click Save Draft to save your event. It will not be visible on the website and remains visible only to you as a draft.
- Click Publish to save your event and make it publicly visible on your website.
If you haven’t correctly filled out all required fields, validation errors may appear after saving. For more information on validation errors, see this documentation.
Before publishing an event with bookings, review the booking documentation and check whether the form is complete. It is not intended and may cause problems if you later change the form after publishing and receiving bookings, especially if you remove fields.
Next steps
- Learn what to consider when editing events
- Read about validation errors
- Find out how to automatically create events using a Schedule
- Learn how to manage bookings for your event
- check out the option to sell your events